Balloon Dog Pillow Project
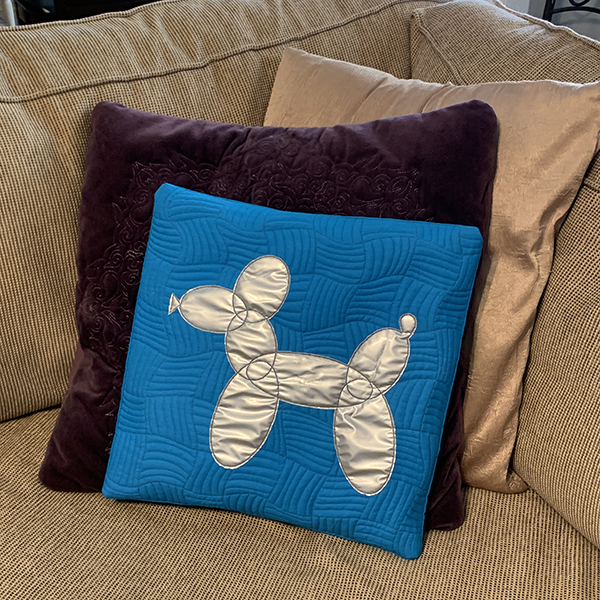
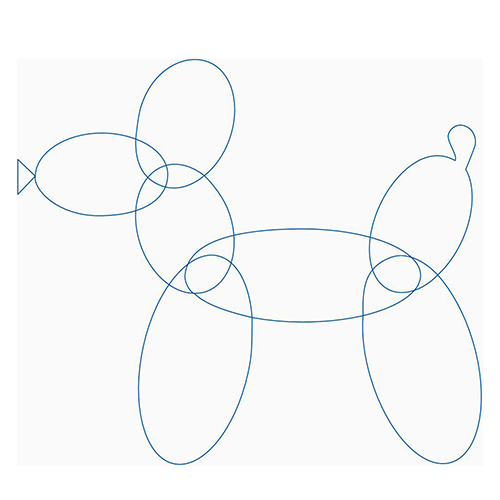
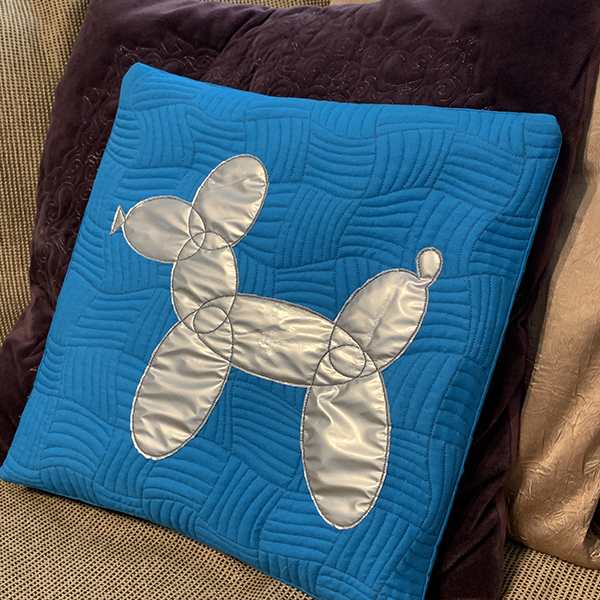
You may already have the adorable Balloon Animal Dog block in your library. This little fella is the subject of our 15″ x 15″ Pillow Project!
Supplies
- 1 yard fabric solid
- 18″ x 18″ batting scrap
- 12″ x 12″ square silver vinyl
- Starch (optional)
- 1 yard Dritz Stitch Witchery fusible adhesive
- Iron
Digital Files:
OR
- Balloon Animal Dog ($9) digital quilting file
- Wonky Weave Background Fill 12″ ($9) digital quilting file
Cutting
From 1 yard fabric cut:
- 18″ x width of fabric
- Sub cut this into two pieces 18″ x 18″ (pillow top) and whatever remains, approx. 18″ x 24″ (backing as its loaded on the longarm)
- 11″ x width of fabric
- Sub cut this into two 11″ x 16″ rectangles
- Cut vinyl to roughly 12″ x 12″
Construction
Load backing, batting scrap, and pillow top fabrics on the longarm frame.
Baste a square larger than 15″.
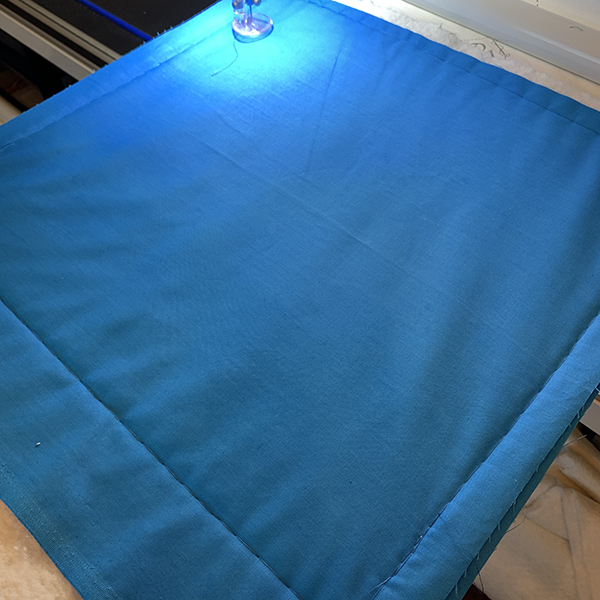
In the robotic quilting system, define a space in which to stitch, 15″ x 15″.
Background
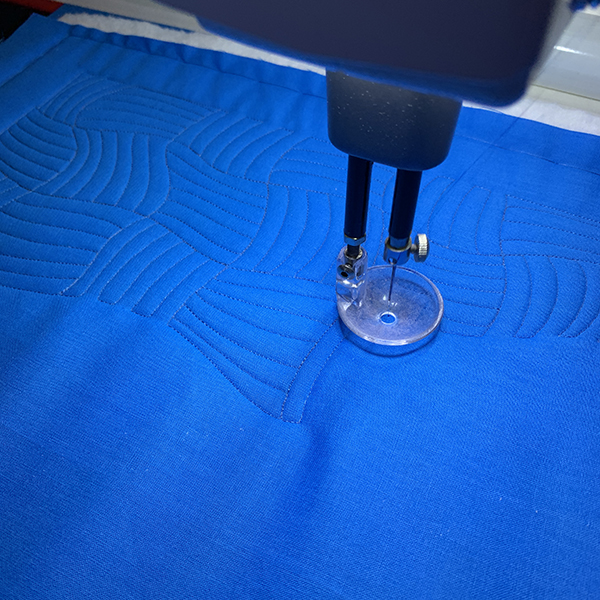
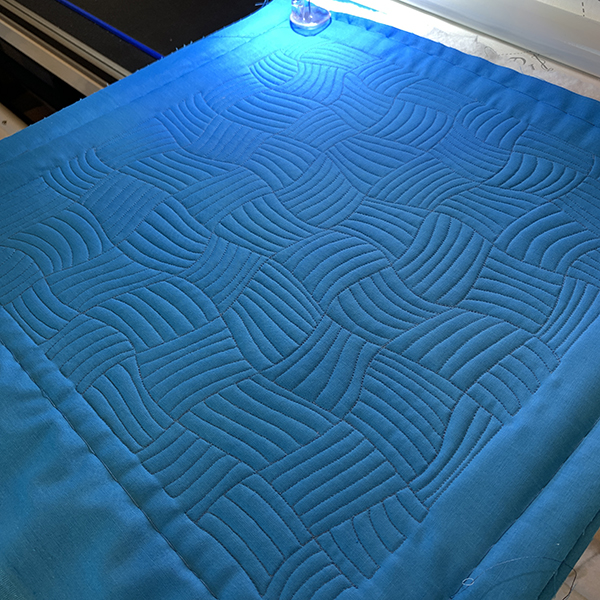
- Open Wonky Weave 12″
- Scale this design to 15″ x 15″
- Place the design into the defined stitching space
- Stitch
Vinyl Raw-Edge Applique
Why Vinyl? We opted to use shiny silver vinyl for a couple reasons.
- The project is 100% inspired by the over-sized Jeff Koons metal balloon dog sculpture.
- This is a raw-edge applique project and vinyl will not fray.
- Vinyl is easy to cut and trim away excess, unlike other heavy-weight decorator fabrics.
- Who doesn’t love a wild vinyl pillow?
- Open Balloon Animal Dog digital file.
- Center it within the 15″ stitchable space
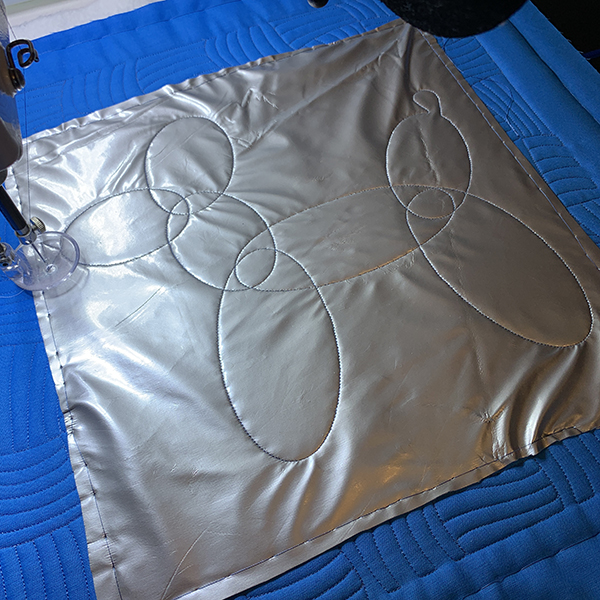
- Prepare vinyl.
If you puncture vinyl, chances are it will leave a hole. For this reason, baste along the very edges to hold the vinyl in the center of the pillow.
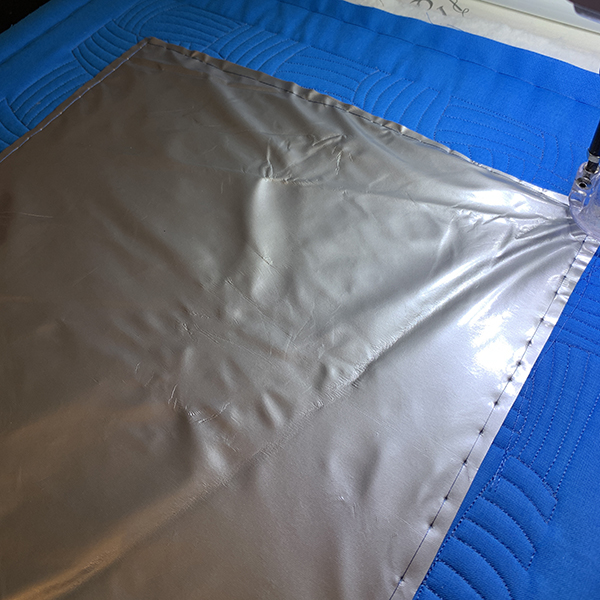
Carefully stitch the block, moving the vinyl with your hand as needed to avoid any wrinkles or puckers.
There’s no need to trim or remove anything at this point.
Make Envelope Backing
An envelope pillow backing is when two pieces of fabric are hemmed, then overlapped on the back of a pillow front. This creates an envelop in which to insert the pillow form. There are many ways to create an envelope backing for a pillow. Our method is (ironically) a no-sew method using Dritz Stitch Witchery, spray starch and an iron.
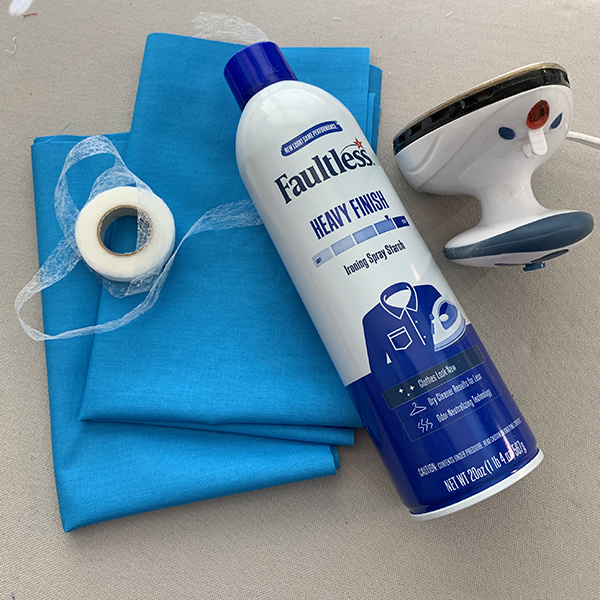
Using two 11″ x 16″ rectangles, fold a 2″ hem along one long edge. Press.
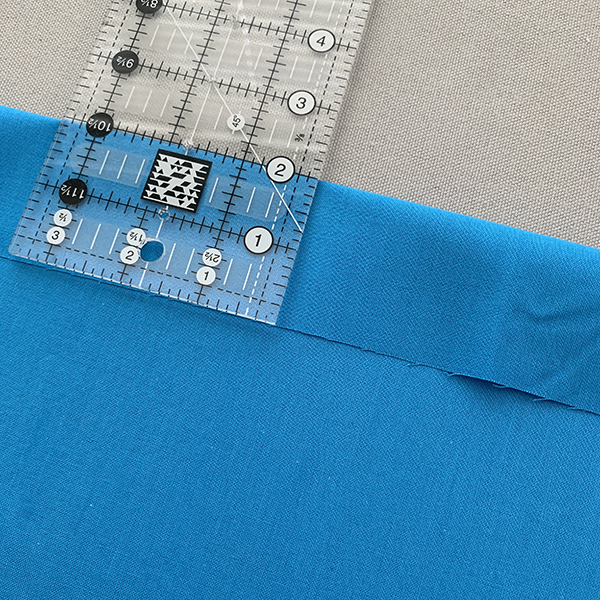
Unfold the hem. Place a 16″ length of Dritz Stitch Witchery under the fold. Press.
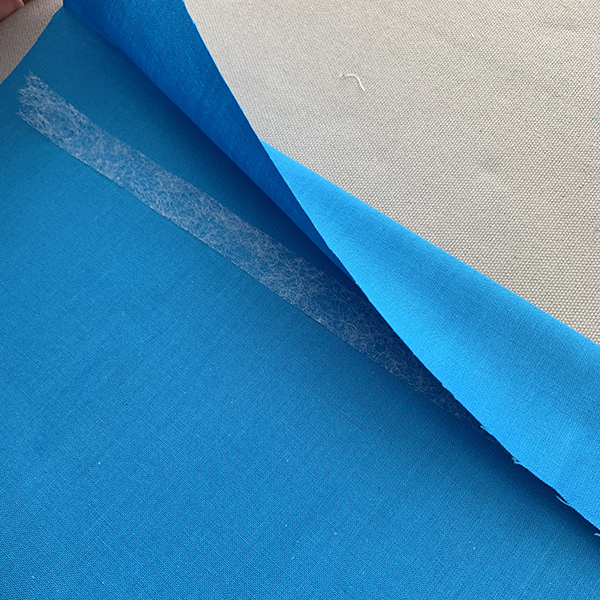
Repeat for the other 11″ x 16″ rectangle.
Lay the two halves over each other, overlapping the hems. This will let you double check that you hemmed the correct sides.
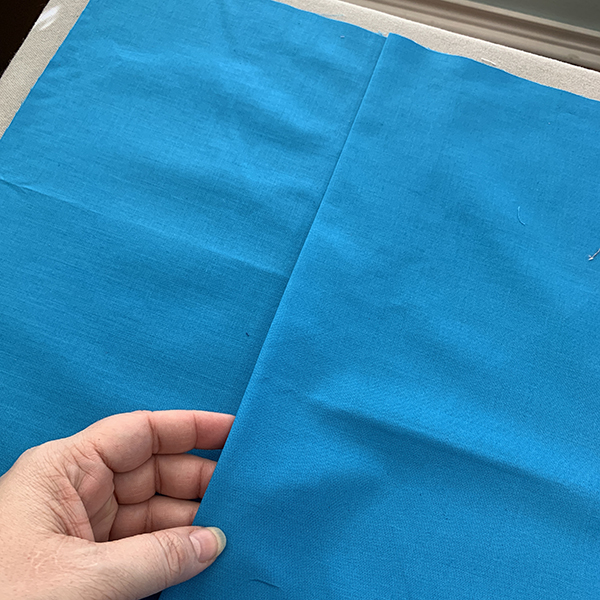
Apply Envelope Backing
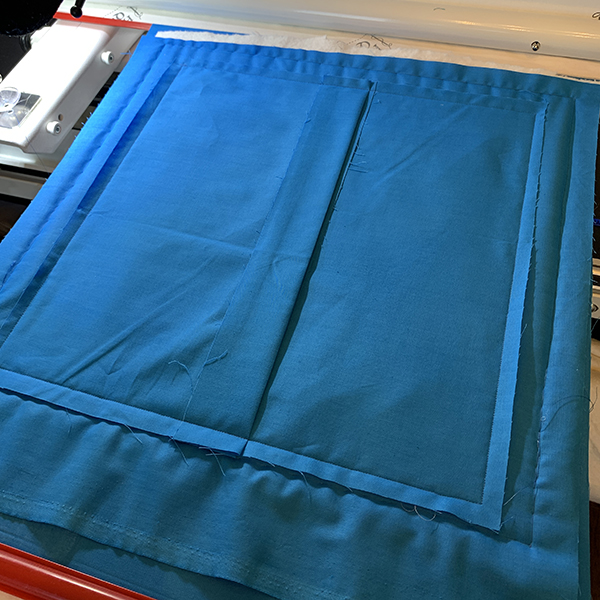
Lay both rectangles over the quilted block. They should overlap at the folds, at center, and extend past the 15″ quilted area.
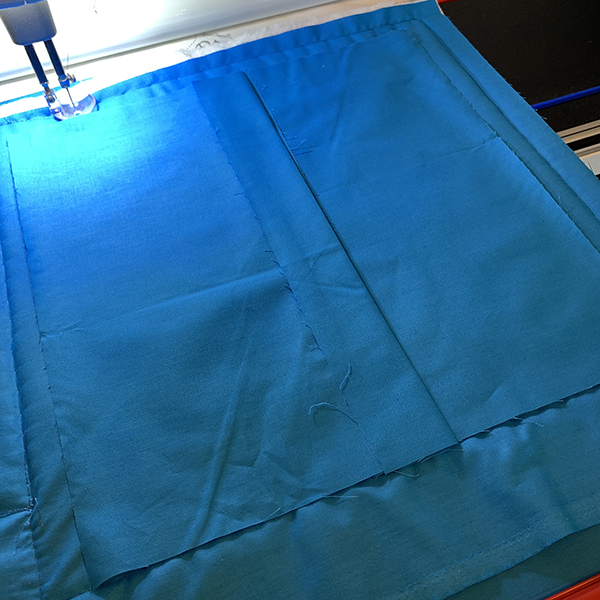
Make sure folds are facing UP.
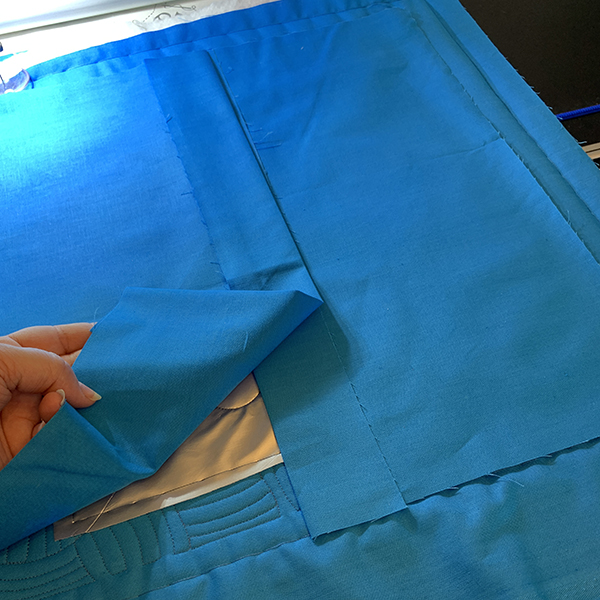
Stitch around the defined 15″ space using a ruler or vertical/horizontal channel locks on your robotic quilting system.
Finish
Remove project from longarm frame.
Trim excess fabric using scissors or rotary cutting tools. Leave a 1/2″ seam allowance.
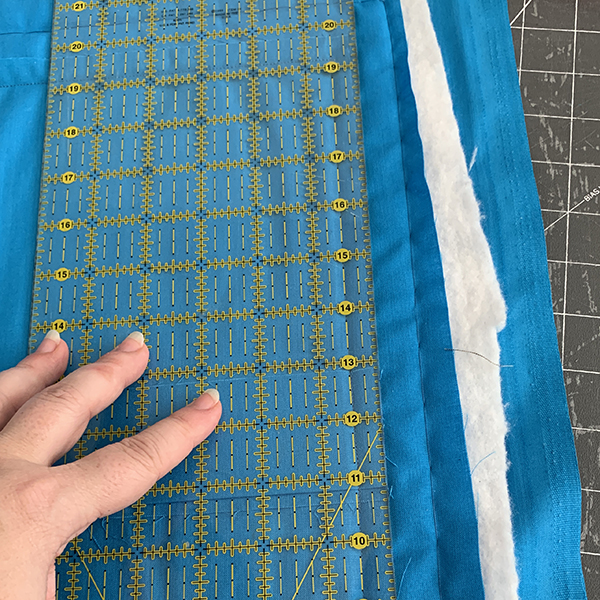
Remove bulk from the corners by cutting off a small triangle shape.
Turn pillow right side out. Push corners to a nice point using a chopstick or other blunt tool.
Remove basting stitches from vinyl.
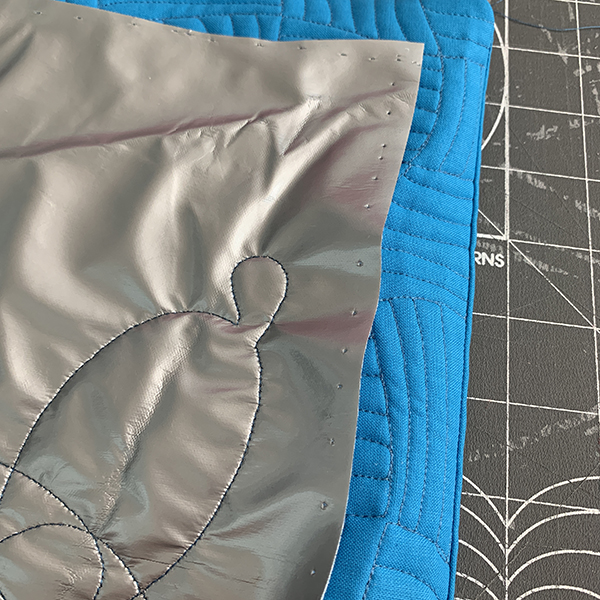
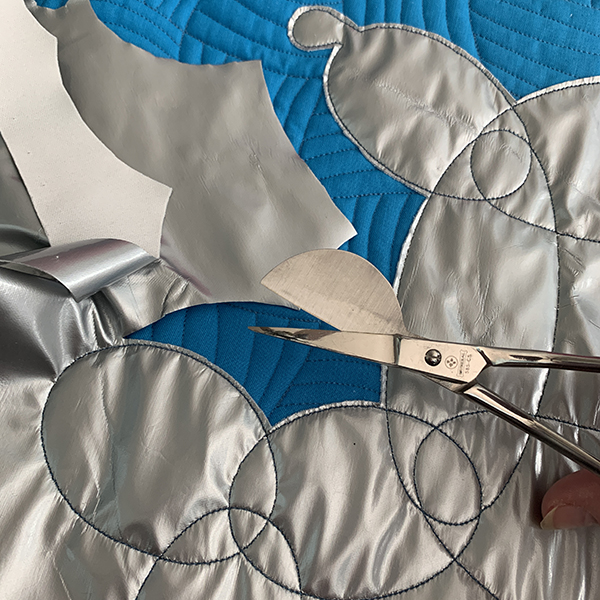
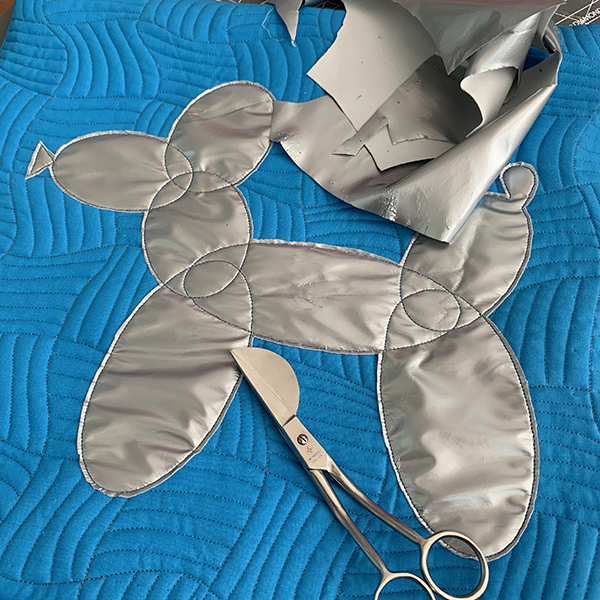
Using small sharp scissors or duckbill scissors (popular for applique) remove excess vinyl 1/16″ to 1/8″ past the stitching line.
Grab a 15″ standard-size pillow form to fill the project!
We cannot wait to see your projects. Use the hashtag #quiltabledesigns when sharing.
Make sure you are subscribed to Quiltable’s mailing list to have this content delivered directly to your inbox.
Content in this feed is © Copyright 2021 by Quiltable and may not be republished without written permission. You’re welcome to forward the email to a friend or colleague but it’s not okay to add the RSS feed automatically as content on a blog or other website. The FTC requires us to tell you that Quiltable has provided products by other companies in the course of doing business. The FTC requires us to advise you to take this information into consideration when reading this posting.
Leave A Comment
You must be logged in to post a comment.