
1. Tabs, Ribbon & Sidebar
Tabs:

- The tabs run across the top of the screen.
- Only one tab can be selected at a time.
- Select any tab to display its buttons and functions.
Ribbon:

- The ribbon is the row of buttons under the tabs.
- The buttons on the ribbon change according to which tab is selected.
- Only one button on the ribbon can be selected at a time.
Sidebar:

- The sidebar is located on the right side of the screen.
- The sidebar includes buttons for the functions tied to the various ribbon buttons.
- The sidebar tabs relate to other aspects of the workspace.
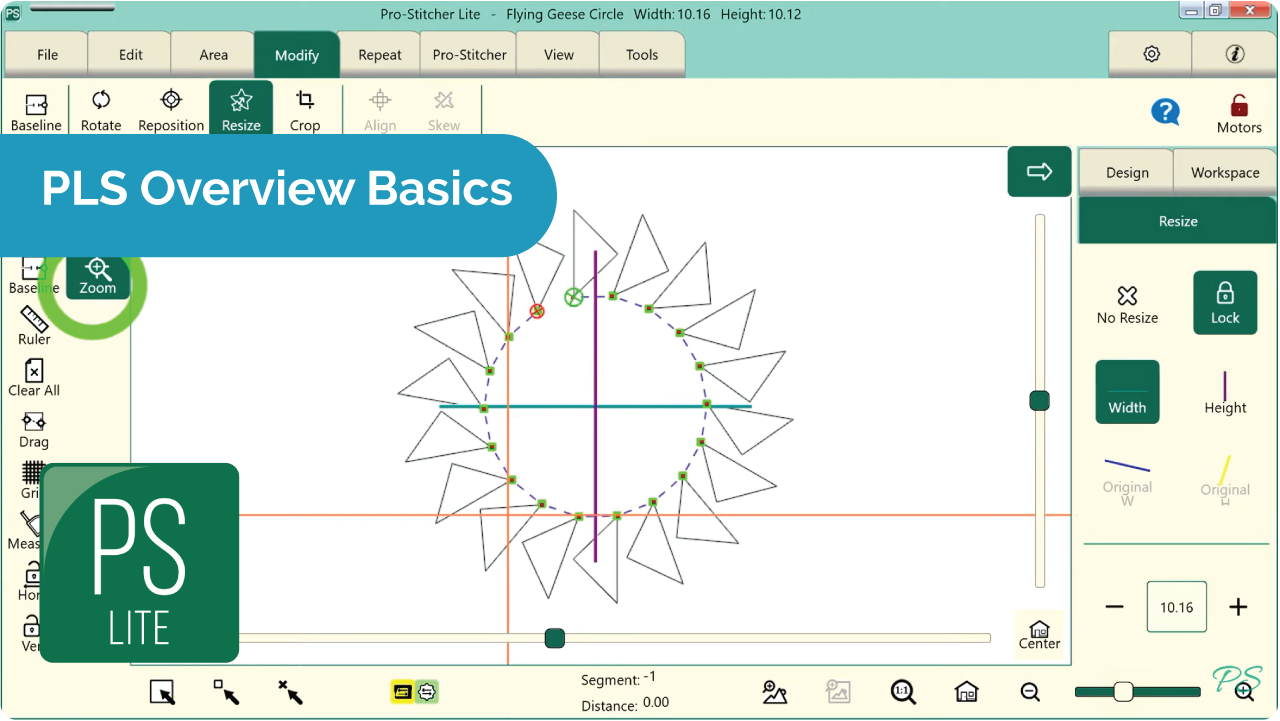
2. Workspace Toolbar

The Workspace Toolbar, located on the top left of the workspace, is always visible. Only one button can be selected at a time.
Select Tool: Touch the Select button in the workspace toolbar, then touch a design to select it.
- A message scrolls on the right side of the screen to indicate the design is selected.
- If the design was already selected, touching the design unselects it.
- Use your finger to draw a marquee box on the screen after touching the select tool. Any design that overlaps with the marquee box will be selected.
Pan Tool: Use pan tool to move what you see on the workspace.
- Pan does not reposition the design relative to the quilt.
- Select Pan and then drag your finger across the screen. The current view moves with the movement of your finger.
Zoom Tool: Use zoom to view a section of the design larger or smaller.
- If you have grid lines displayed on-screen, you’ll see the grid lines also shrink or grow as you zoom the design.
- To zoom into an area, select zoom. Then use your finger to drag a marquee box around the area you’d like to see larger.
- You can also use the zoom in and zoom out buttons in the status bar at the bottom right of the workspace screen.
3. Baseline
The Baseline button “freezes” the modification you have made to the design.

- All modification after you baseline treat the design as a new, unaltered design.
- However, baseline DOES NOT save the design to your library.
- Use baseline anytime you finish a modification before moving onto another modification or before stitching.
4. Crosshairs
- Crosshairs can be 3 different colors:
- Orange: your gears are engaged.
- Purple: your gears are dis-engaged for free-motion quilting.
- Green: Pro-Stitcher is in simulation mode.
- Bring the design to the crosshairs, not the other way around.
- The crosshairs (or needle position) are used with the Reposition function to determine the design position.
5. Undo/Redo buttons

- These buttons are found in two places: the Quick Access Toolbar and under the Modify Tab.
- Use the undo button to undo the last function performed.
- Continue selecting undo as needed to get the design back to where you want it.
- Use the redo button if you change your mind about the last undo action.
6. Motors
The motors button in the top right of the workspace indicate 3 different modes:

- Motors are unlocked. You can move the machine

- Motors are locked

- Motors error. Tap the button to reconnect the motors.
7. Help Button
The easiest way to get more help: select the help button.

- The help button displays context-sensitive on-screen help.
- Select the help button first, then select a tab, button or area on the workspace to display a text box with information about that button.