

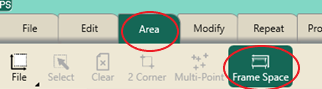
1.1 Set Up Frame Space
- Select Area tab.
- Press Frame Space on the ribbon.
- Move machine to the top left corner of your frame space.
- In the sidebar, press 2 Corner.
- Move machine to the bottom right corner of your frame space.
- In the sidebar, press 2 Corner.
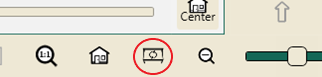
- Press Refresh to Frame Space in the bottom right corner of your screen to see your entire frame space, design and crosshairs in your workspace.
1.2 Select Design
- Select File tab.
- Press Design.
- Press Open.
- Select Designs/1-PS Designs/Continuous Line/Flutterbys
- Press Open.
1.3 Create an Area
- Select Area tab.
- Move machine to top left corner of the quilt.
- Press 2 Corner on the Ribbon.

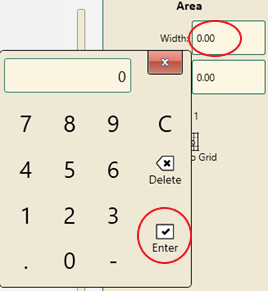
- In the sidebar, tap in the Width box. A keypad will appear.
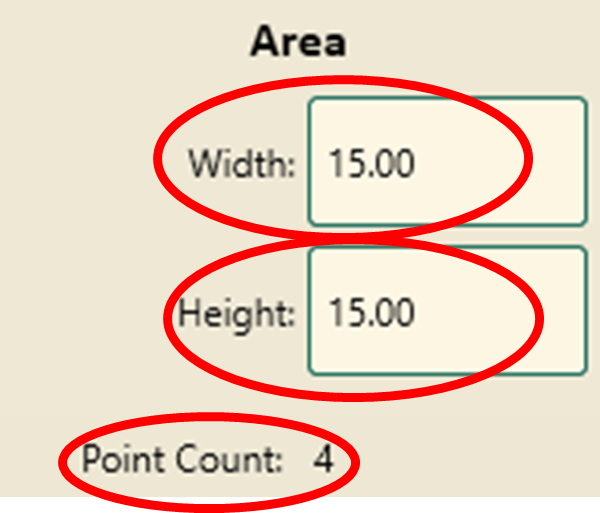
- Type in 15 in the numerical keypad then Enter.
- Tap the Height box.
- Type the height of your quiltin the numerical keypad then Enter.
- The area point count is 4.
- Press Refresh.
1.4 Repeat Design in Area
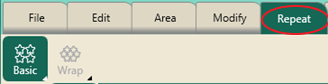
- Select Repeat tab.
- Basic is selected on the Ribbon.
- Press Fill under Horizontal in the sidebar.
- Add more repeats as needed to Horizontal by pressing the plus button.
- Press Stretch.

- Select Vertical, add more repeats if needed.
- Press Stretch.
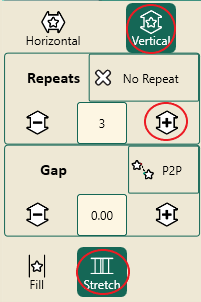
- The design now fits inside the area exactly.
- Press Baseline.
- Press Refresh in the bottom right corner of the workspace.

1.5 Save the Design
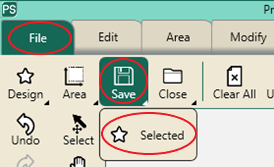
- Select File tab.
- Press Save on the ribbon, then Selected on the drop-down menu.
- Select a folder to save your design. You can save in any folder on your computer or to a usb.
- Give your design a different name or use the name provided by the software.
- Press Save in Save File window.
Pro-Stitcher Lite Tip: Always save an edge-to-edge design before quilting.
1.6 Stitch the Design
You must set up Frame Space in order to quilt. If you have not set up your frame space, go back to 1.1.
- Select Pro-Stitcher tab.
- Press Quilt on the ribbon.
- Press Run. Verify Settings.
If your design is outside your frame space, you will receive a warning. Adjust your positioning, and then start this section again.
- Press Proceed.
- Bring up bobbin thread.
- Press Resume.
- Stitch design.
- At the end of the row, the machine will tie off (if selected).
- The motors will disable and pause for a long jump.
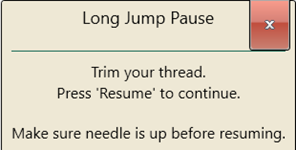
- Pull up bobbin thread and clip your threads.
1.7 Advance the Quilt
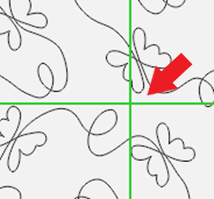
- Looking at the screen, move the machine so the crosshairs are at a point just above the top of the next row of the design.
- Press the needle down button on the left handlebar.
- This places the needle down into the fabric, so the machine will move with the fabric.
- Press Drag in the Quick Access tools (or in Modify tab, Reposition on the ribbon, then Drag in the sidebar).


- Drag turns green and reads Drop.
- This attaches the crosshairs to the design. (Crosshairs on screen represent the needle of the machine).
- Release the side clamps.
- Raise the ratchet stops on the two front poles.
- Advance the quilt gently using the hand wheel until there is enough unquilted space for the next row.
- Check the quilt around where the needle is in the fabric to make sure it is not being stretched or pulled by the needle.
- Adjust the machine position if necessary.
- If you have pole cradles, lift your quilt top pole into the pole cradles and smooth your batting.
- Put the quilt top pole back into its bracket.
- Drop the ratchet stops on the two front poles.
- Adjust your quilt top and back tension as needed.
- Attach the side clamps.
- Press Drop in the Quick Access tools. It will turn back to tan and read Drag.
- Press Needle Up on the left handlebar.
- Baste the side edges of the quilt in the new throat space.
- Row 2 is positioned to stitch.
- Press Resume.

- Quilt Row 2.
- Continue, advancing the quilt and design in the same manner until you finish quilting.
1.8 Add New Start Point
If you have a thread break or the bobbin runs out, follow the steps below:
- Press Pause.

- Your motors are locked, so the machine will not move.
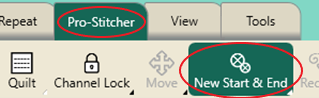
- Select Pro-Stitcher tab.
- Press New Start & End on the ribbon.
- Touch Auto in the Start column twice.
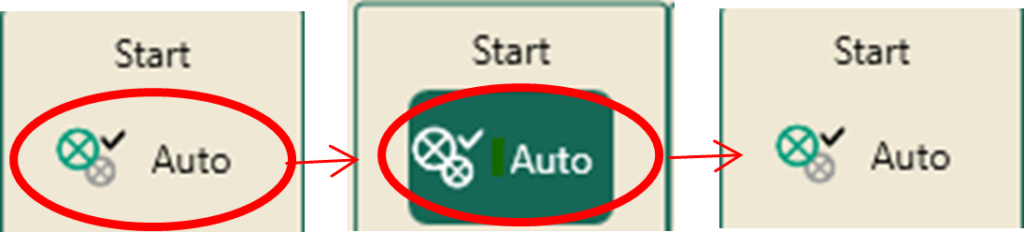
- This will move the start point (the green circle with an X in the middle) to exactly where your needle is.
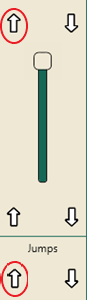
- To adjust the precise position of the start point: Tap the arrow pointing up at the bottom of the slide bar OR top of the slide bar, move the green bullet back to where you want to start stitching again.
- Press Motors on ribbon to unlock.
- Now you can move your machine to rethread or change your bobbin.
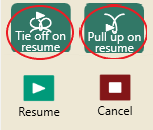
- Select Tie off on resume and Pull up on resume if desired, then press Resume.
- The machine will start stitching where you set the new start point.