
- File Tab > Design > Open
- 1-PS Designs/Blocks/Block of Lines
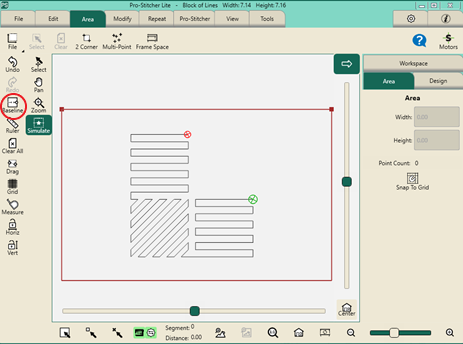
- Create an Area
- Move your machine to the top left corner of where you want to create your area.
- Select Area tab> 2 corner from the ribbon.
- Move your machine down to the right, and select 2 Corner again.
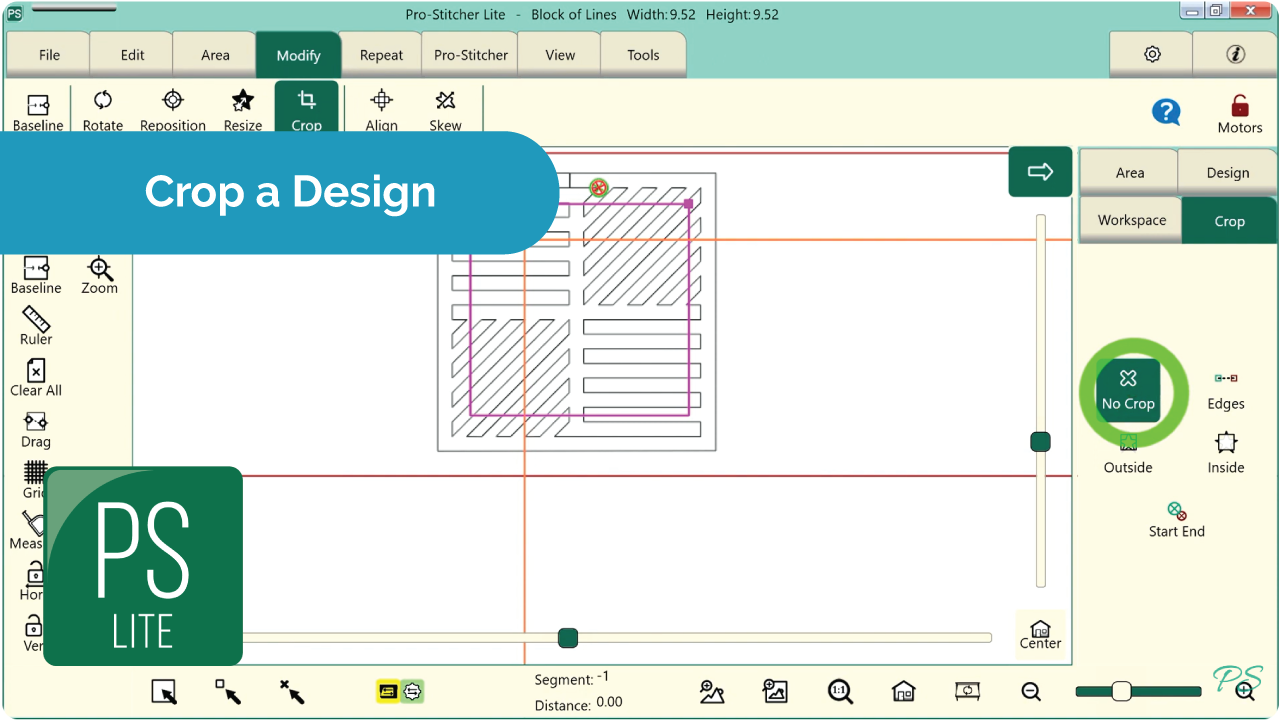
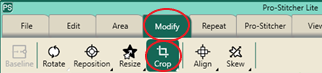
- Select the Modify tab > Crop
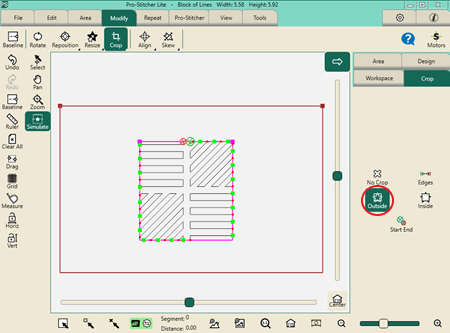
In the sidebar, you have three options for cropping: Inside & Outside and Start End.
- Outside Crop
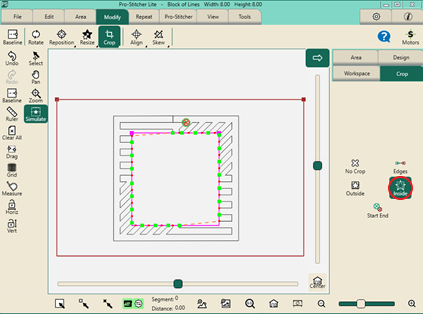
- Inside Crop:
You can close your edges or leave them open, depending on how you want the edge of your cropped design to be finished.
To move start and end points, select Pro-Stitcher tab > New Start & End. In the sidebar, adjust the start and end points with the arrows in the sidebar.
- Start End Crop:
After cropping your design, Baseline, set up your frame space, and then stitch your design.