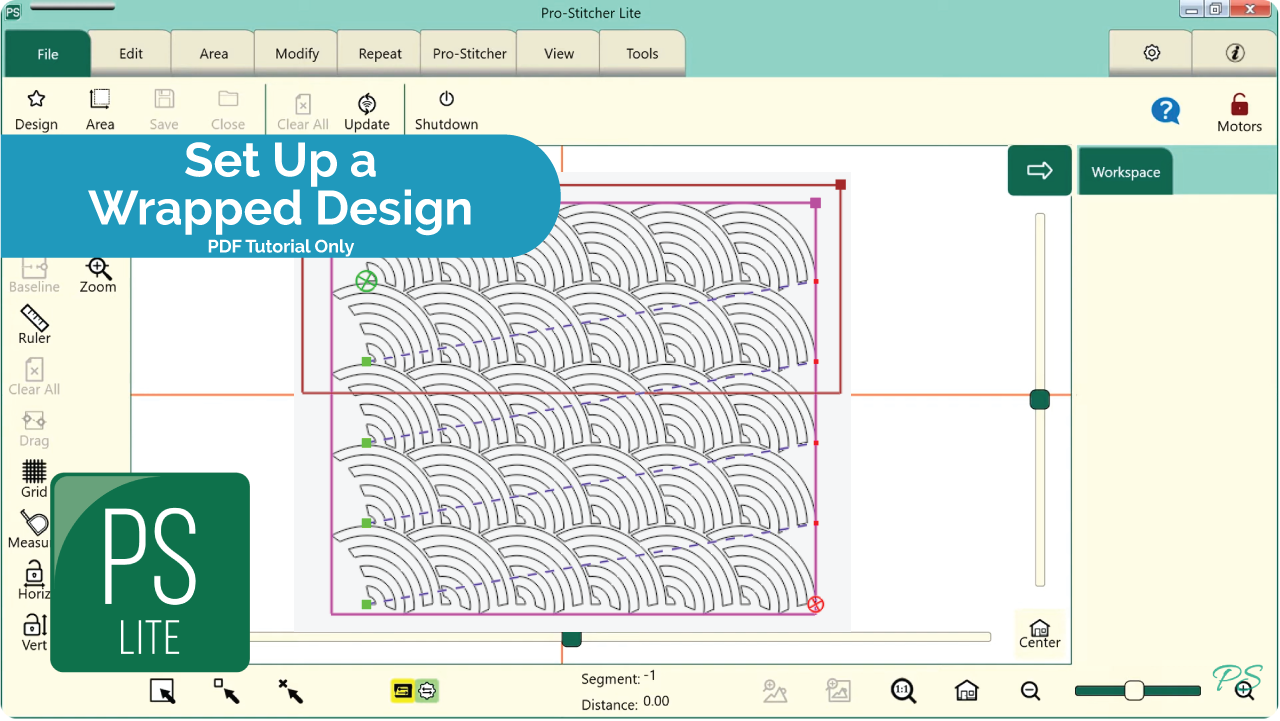
1.1 Set Up Frame Space
- Select Area tab.
- Press Frame Space on the ribbon.

- Move machine to the top left corner of your frame space.
- In the sidebar, press 2 Corner.
- Move machine to the bottom right corner of your frame space.
- In the sidebar, press 2 Corner.
- Press Refresh to Frame Space in the bottom right corner of your screen to see your entire frame space, design and crosshairs in your workspace.

1.2 Open a Design
- Select File tab.
- Press Design.
- Press Open.
- Select Designs/1-PS Designs/ Continuous Line/Baptist Fan
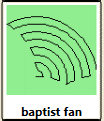
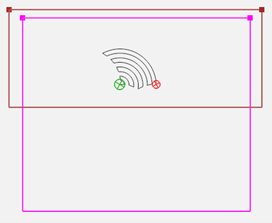
1.3 Create Area
- Select Area tab.

- Move machine to the top left corner of quilt top, about 1 inch off the quilt top on the batting.
- Press 2 Corner.
- Move machine to the bottom right edge of the quilt, about 1 inch off the edge of the fabric in the batting.
- Press 2 Corner.
1.4 Repeat Design
- Select Repeat tab.
- Basic is selected.

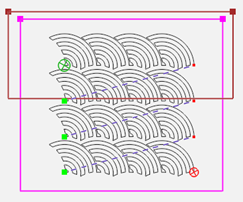
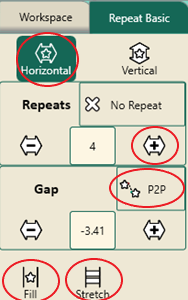
- Press Horizontal in the sidebar.
- Press Fill in the sidebar.
- Press P2P.
- If needed, use the plus button to add enough rows to fill the area.
- Press Stretch.
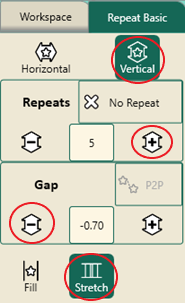
- Press Vertical. Using the plus button to add more rows if needed.
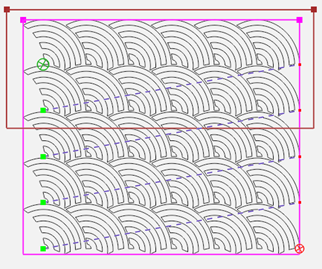
- Press Stretch. This will shrink the design to fit into the area.
- Press the Gap minus button to decrease space between the rows.
1.5 Wrap Design
- Press Wrap on the ribbon.

- Press Horizontal in the sidebar.
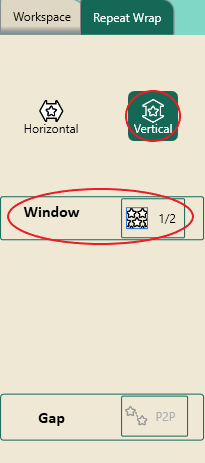
- Press the Window ½ button in the sidebar.
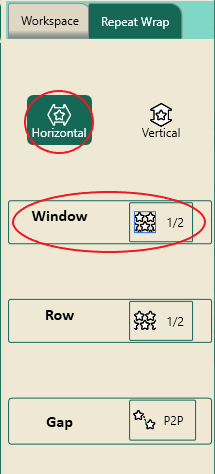
- This shifts the complete design to the right and wraps the design around on the left filling in the blank areas on the horizontal rows.
- Press Vertical in the sidebar.
- Press Window ½ to wrap the design vertically.
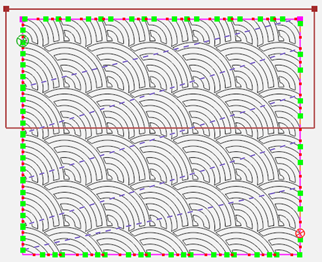
- The design is now wrapped from edge to edge and top to bottom and fits the area.
- Press the Baseline button.
1.6 Stitch Design
- Select Pro-Stitcher tab.
- Press Quilt on the ribbon.
- Press Run. Verify Settings.
- Press Proceed.
- Bring up bobbin thread.
- Press Resume.
- Stitch design.
- Use the Edge to Edge with Drag and Drop tutorial for advancing your design.
