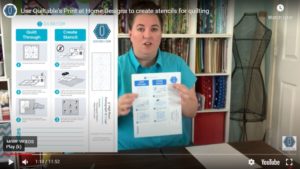
How to: Create Stencils
Print, assemble, punch holes, and mark your quilt to add beautiful quilting designs from Pro-Stitcher‘s Print At Home collection.
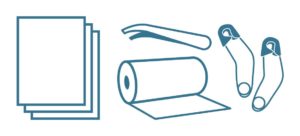
Supplies:
- Print At Home File
- Lightweight paper such as Easy Tear Paper or Newsprint
- Clear Tape
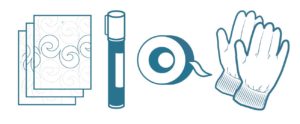
- Fine Tip Marker
- Pounce Pad + Iron-Off Chalk
- Safety Pins or other sewing pins
- Machinger Gloves

Design Prep
Blocks: Print block design. Abutt page edges and draw in any missing line segments with a fine-tipped marker.
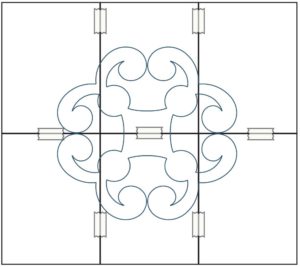
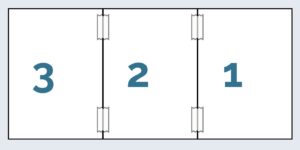
Pantograph: Print pantograph (edge to edge) design. In reverse page number order, tape pages together with clear tape abutting page edges and adding as many pages as needed to achieve the desired length.
Why reverse order? The pantograph designs are optimized for quilt-from-the-back longarm quilters. Longarmers will be quilting from right to left as they are standing at the back of their machine.
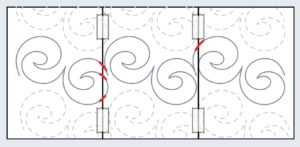
Draw any missing line segments with a fine-tipped marker.
Punch Holes and Mark
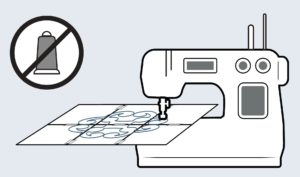
Using an unthreaded sewing machine, large stitch length, and size 16 or 18 needle, sew through the paper creating a series of “punched holes” along the printed lines.
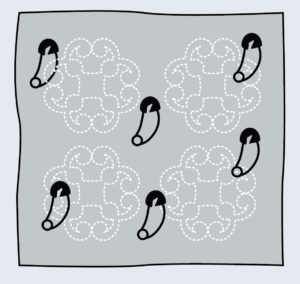
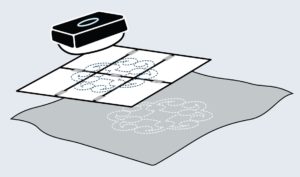
Position the stencil printed-side down onto quilt top. Pin in place. Rub pounce pad over the punched holes to transfer the design to the quilt.
NOTE: Do not remove all design-positioning pins at once. Leave some in place as you peel back the paper to make sure the design is fully tranferred.
Baste and Quilt
Baste Quilt. Sew through marked lines using machinger gloves to grip the quilt. Iron quilt or toss in dryer to remove excess pounce chalk marks.
NOTE: Do no quilt over pins.